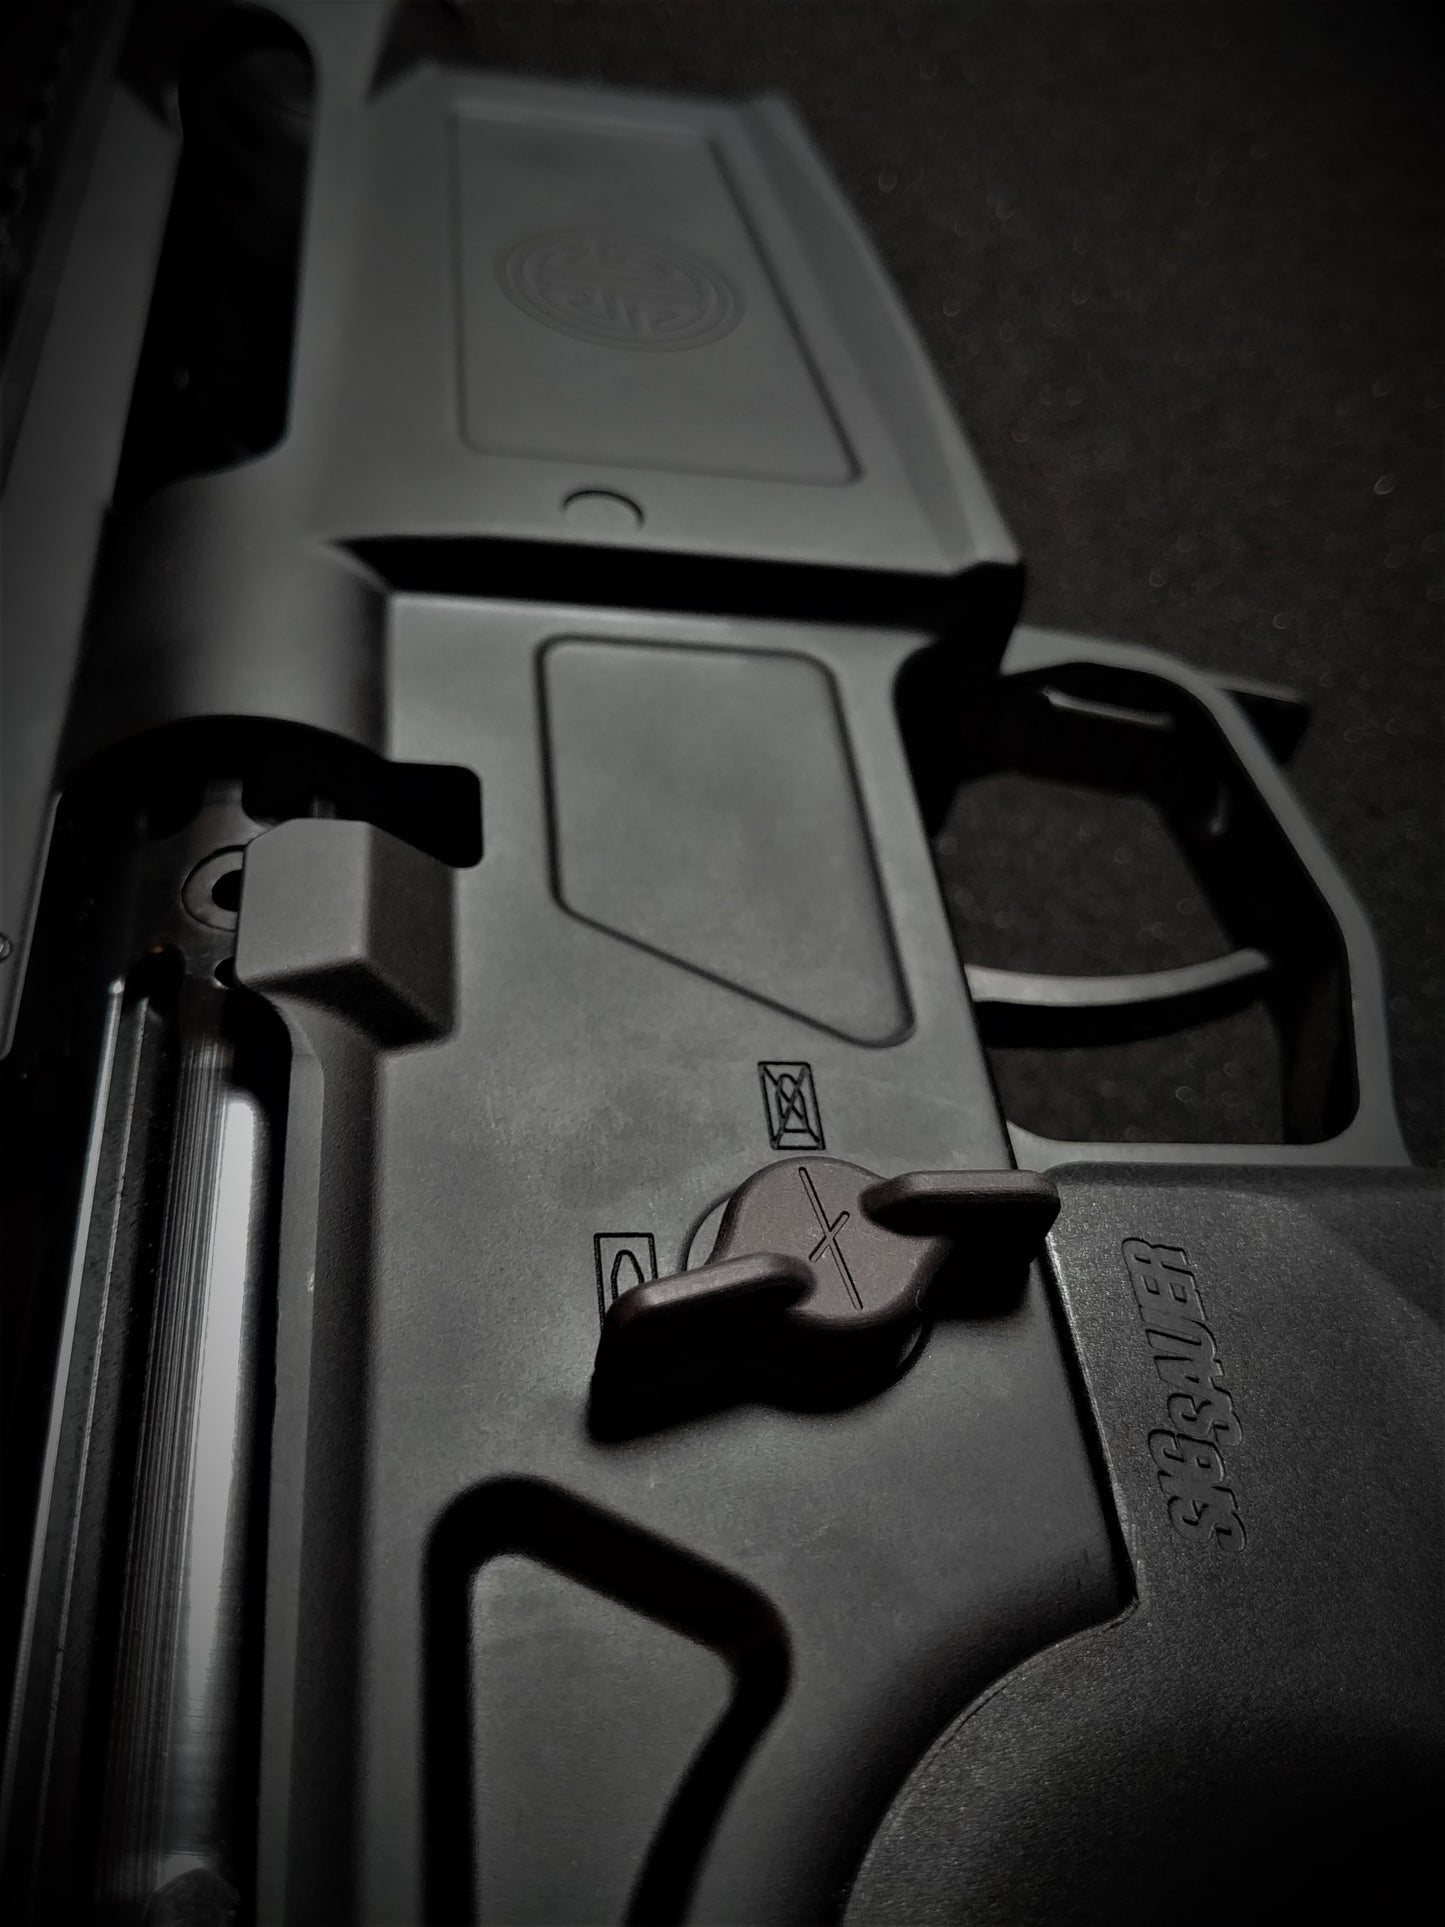
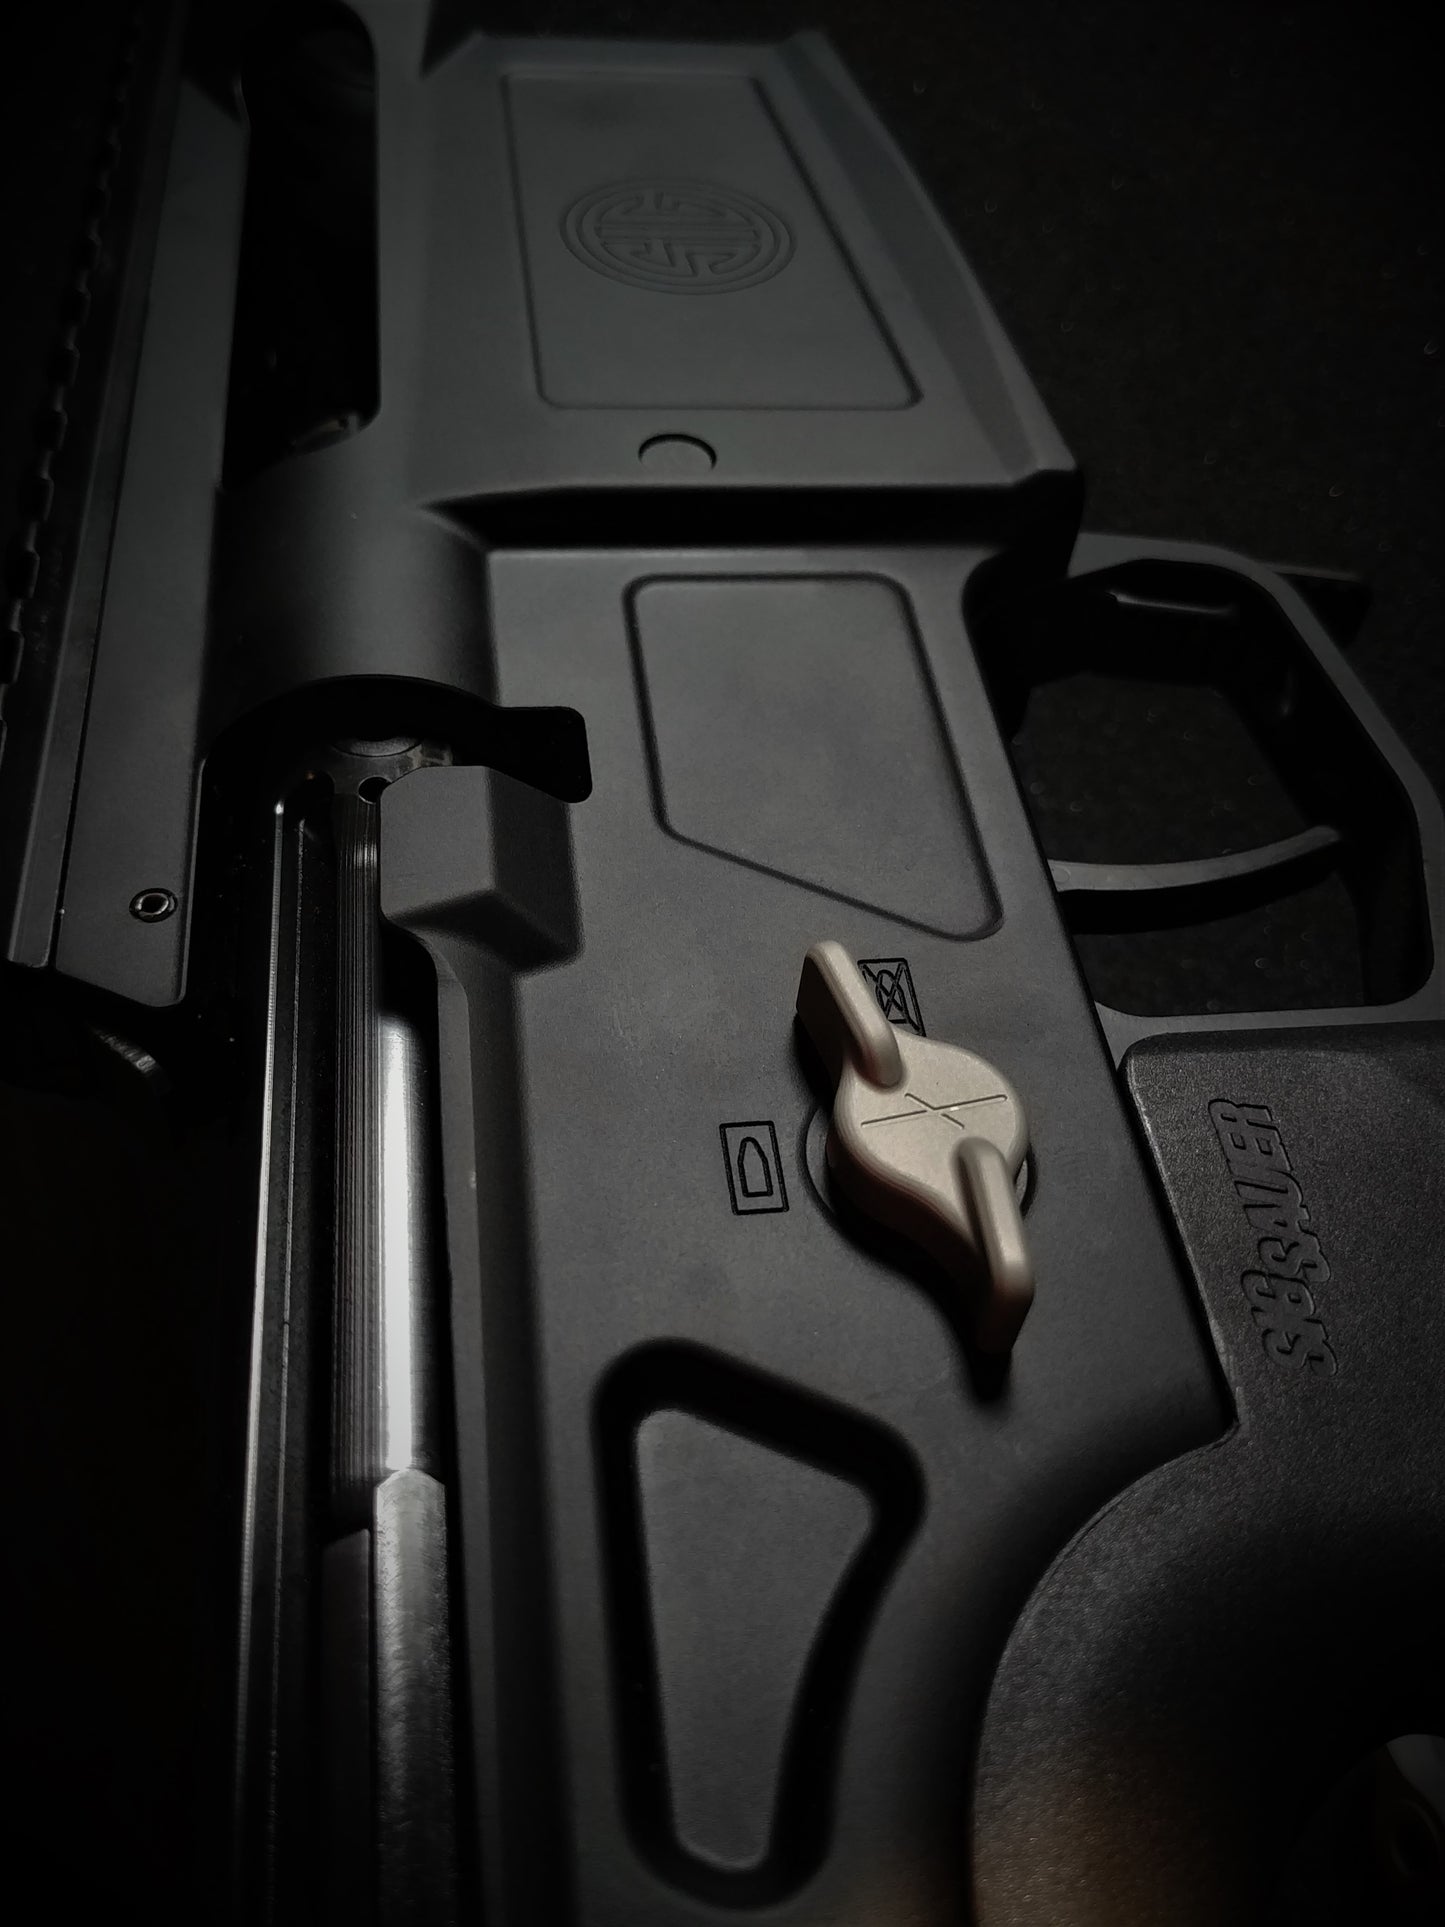
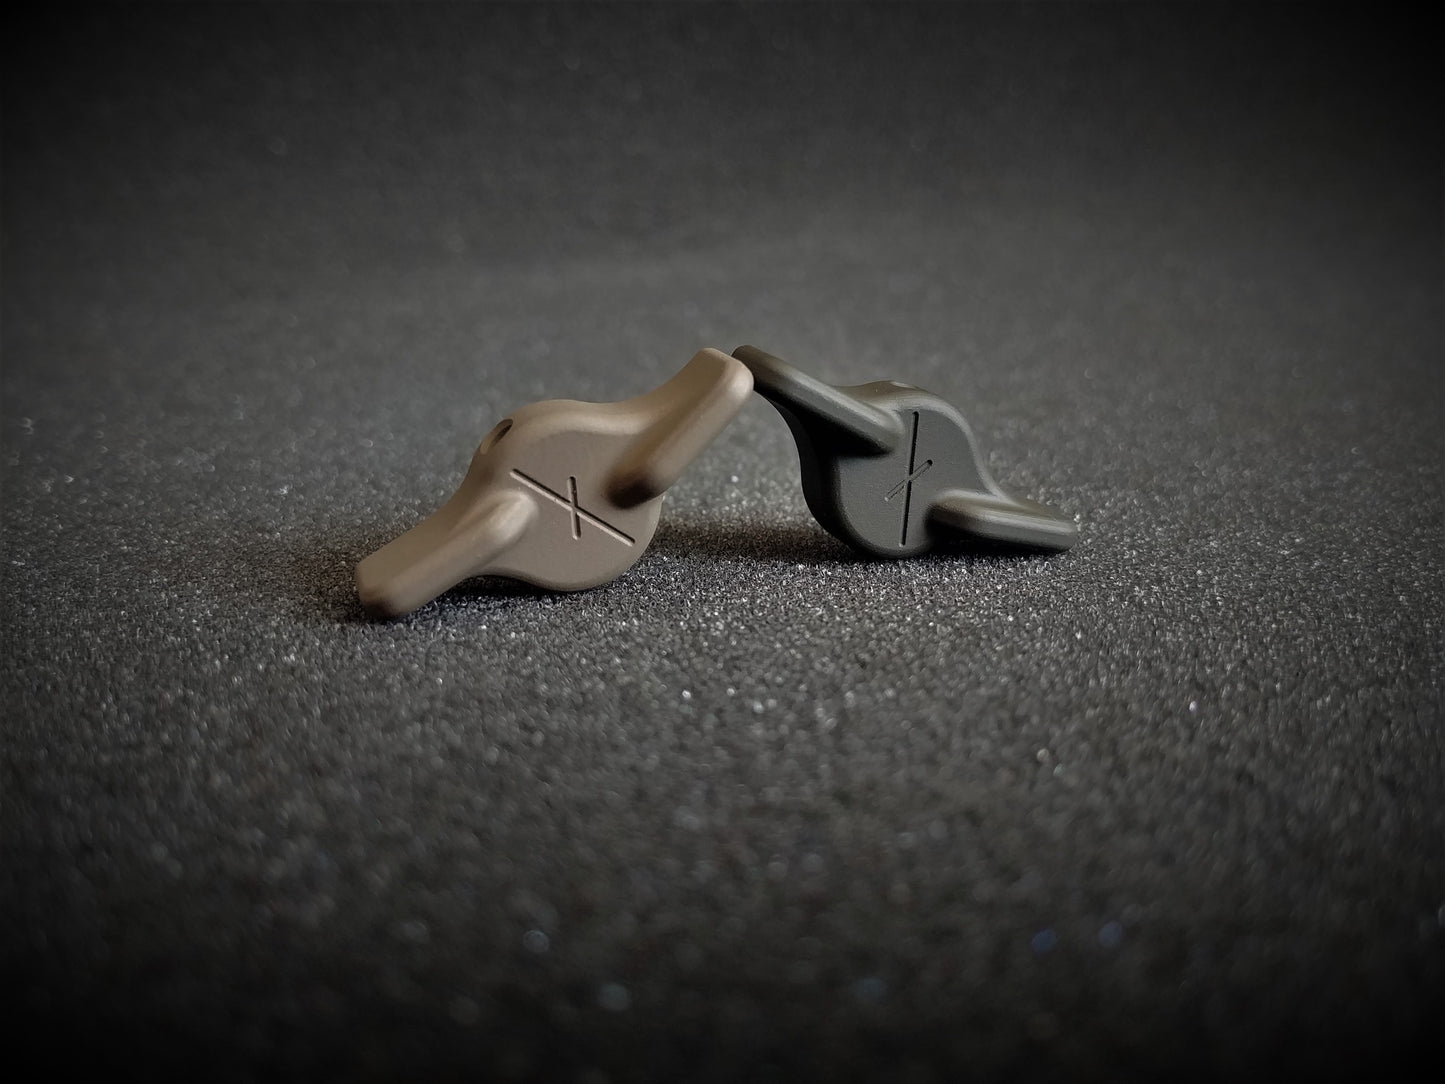
Sig Cross | ESS INSTALLATION GUIDE
The following is a installation guide for professional gunsmiths. Any personal attempt is at your own risk.
!SAFETY! Ensure the firearm is clear of attached magazines and ammunition from the chamber before proceeding further!
Disassembly (Sig-Cross)
- Hold the rifle in an appropriate cradle or vice in the upside down orientation.
- (Optional) Remove grip using a 4mm Hex drive (Allen wrench/key)
- With the selectors in the SAFE position use a 3/32" roll pin punch to remove the roll pin retaining the selectors on both sides of the rifle.
Installation
1. The plastic packaging the selectors are clipped into is intended to be broken in half separating the right from the left side. Doing so will expose a hole that will fit a 3/32" punch snugly. This is to help hold everything in place to aid in installation.
2. Apply a small amount of lubricant to the original roll pin, Insert into the aforementioned hole all the way until it contacts the hole in the selector. Be sure to center the selector by hand before the next step.
3. Stood on end vertically, drive the pin into the selector just enough to capture it but not deep enough to extend into the center pocket. hold the selector in the packaging with your index finger and thumb for stability.
4. Place the plastic housing with the selector still attached on the corresponding side of the rifle indicated by the R or L. The hole for the punch in the plastic housing should be visible while looking down at the rifle as to drive the pin in the same way is was removed.
5. While the selector cylinder is still in the SAFE orientation, drive the pin the remaining distance into the selector securing it to the selector cylinder.
6. Once the pin has been driven in deep enough to clear the plastic guide material firmly grip the plastic guide and lift away from the receiver to remove it.
7. Drive the roll pin the remaining depth of 1/16 under the outer edge of the selector.
Collapsible content
WARRANTY
MADERIFLE™ guarantees its products against manufacturing and material defects. Products are hand assembled and inspected at multiple stages to ensure the highest level of quality. MADERIFLE™ is not responsible for any damage incurred during transit or installation.